About Archive Tags RSS Feed


Entries tagged bread

Bread and data

11 April 2018 12:01

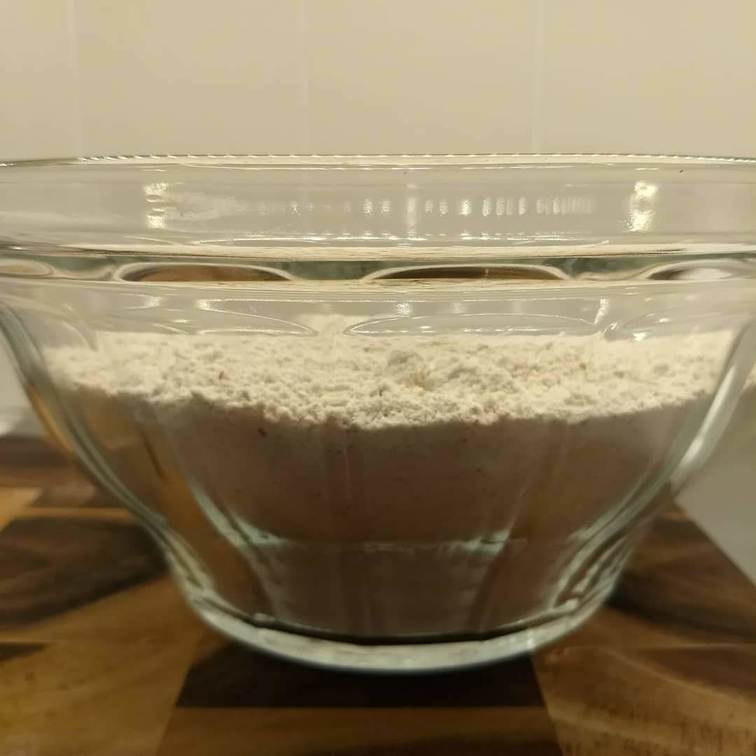
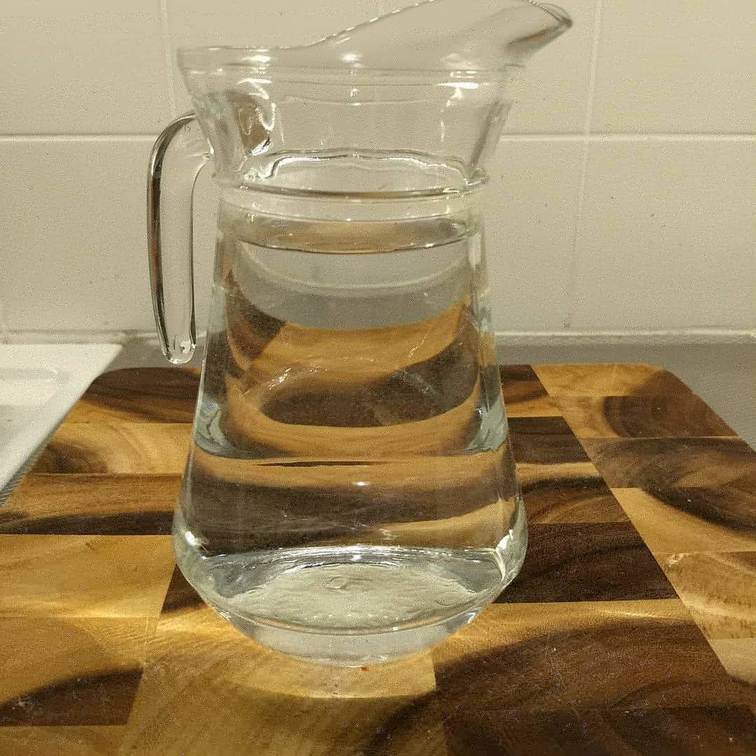
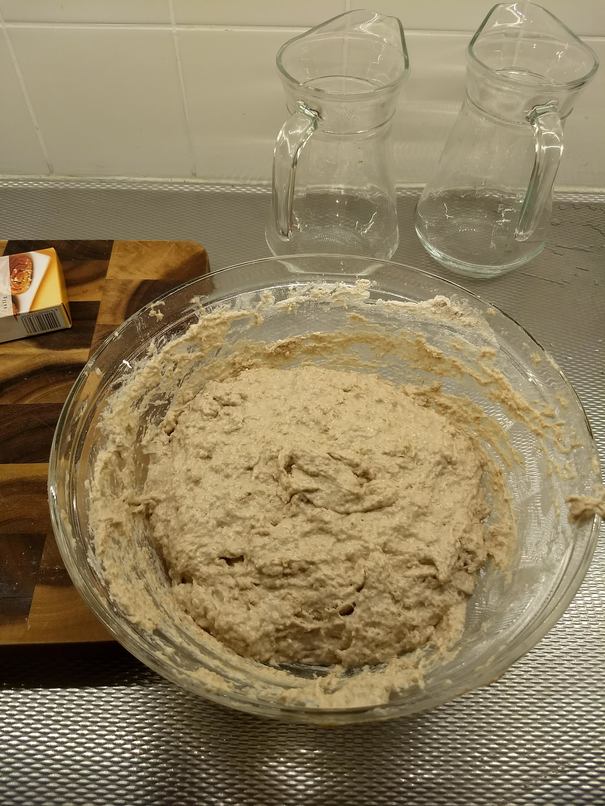
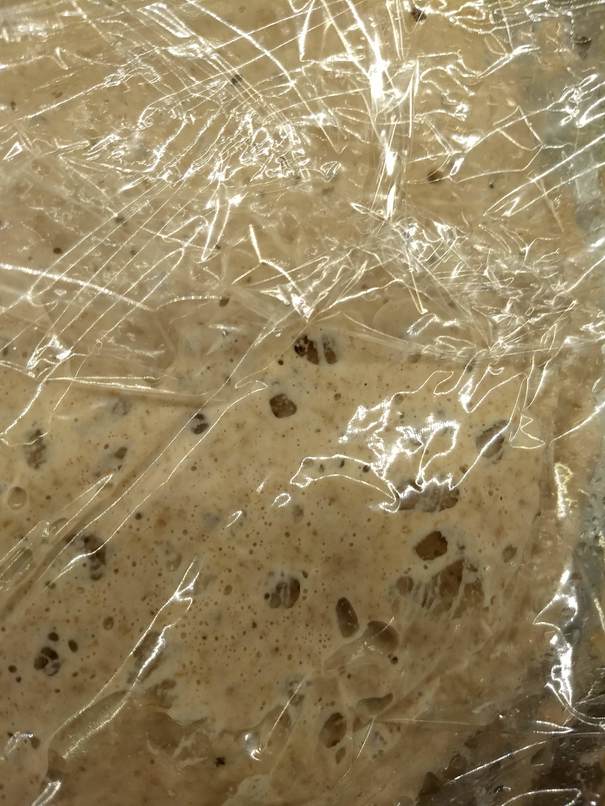
For the past two weeks I've mostly been baking bread. I'm not sure what made me decide to make some the first time, but it actually turned out pretty good so I've been doing every day or two ever since.

This is the first time I've made bread in the past 20 years or so - I recall in the past I got frustrated that it never rose, or didn't turn out well. I can't see that I'm doing anything differently, so I'll just write it off as younger-Steve being daft!

No doubt I'll get bored of the delicious bread in the future, but for the moment I've got a good routine going - juggling going to the shops, child-care, and making bread.

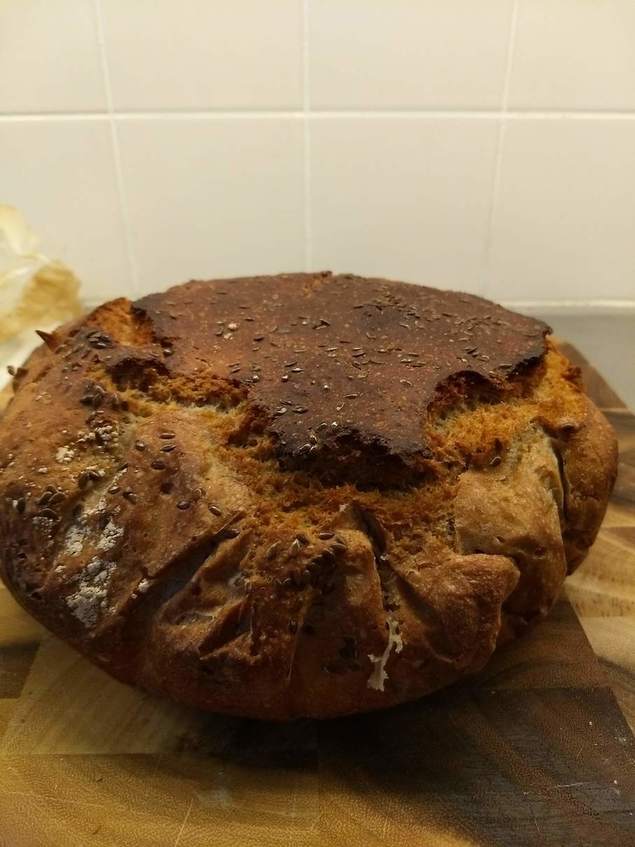
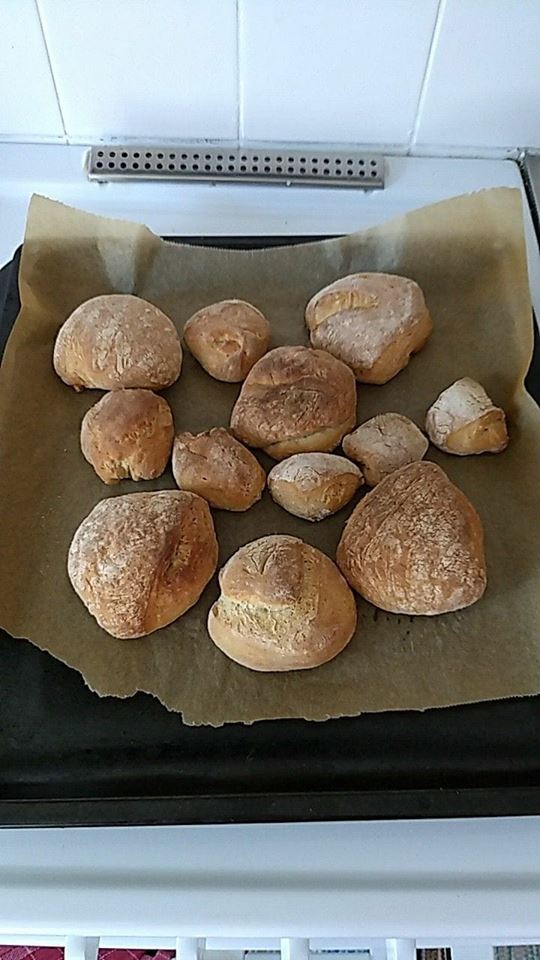
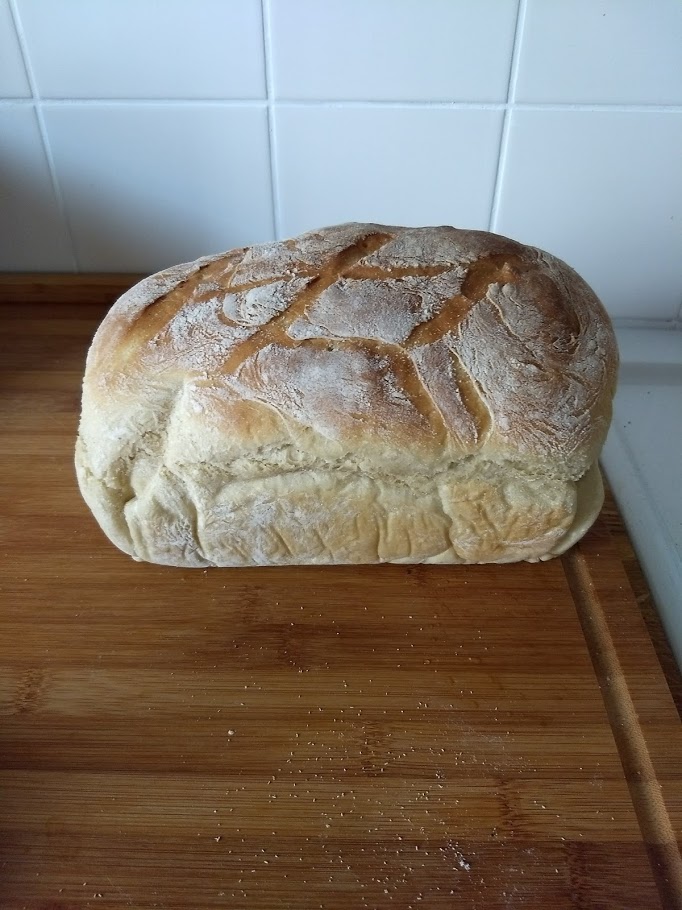
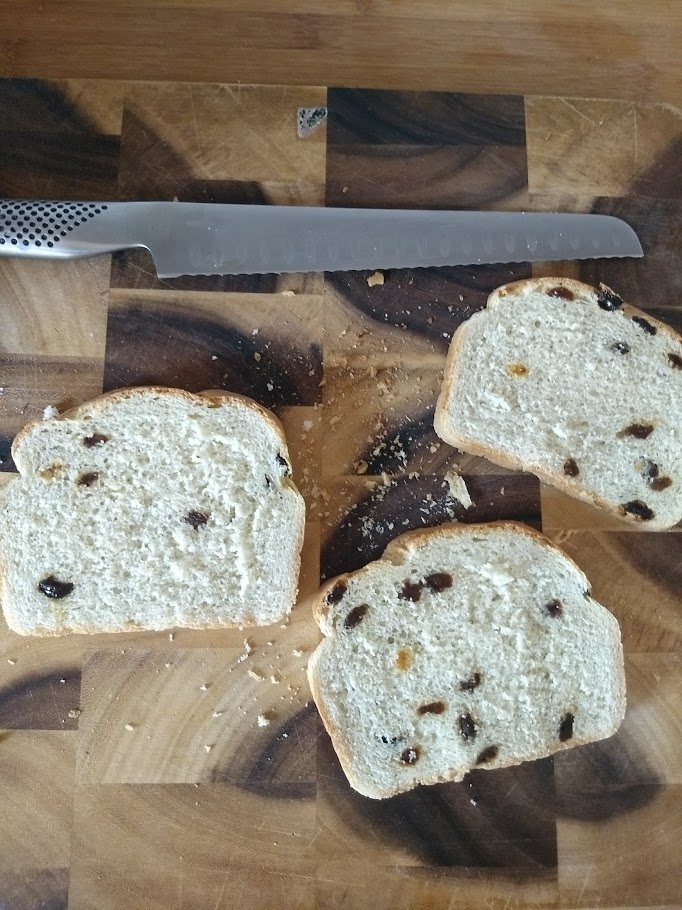
Bread I've made includes the following:

Beyond that I've spent a little while writing a simple utility to embed resources in golang projects, after discovering the tool I'd previously been using, go-bindata, had been abandoned.

In short you feed it a directory of files and it will generate a file static.go with contents like this:

files[ "data/index.html" ] = "<html>....
files[ "data/robots.txt" ] = "User-Agent: * ..."

It's a bit more complex than that, but not much. As expected getting the embedded data at runtime is trivial, and it allows you to distribute a single binary even if you want/need some configuration files, templates, or media to run.

For example in the project I discussed in my previous post there is a HTTP-server which serves a user-interface based upon bootstrap. I want the HTML-files which make up that user-interface to be embedded in the binary, rather than distributing them seperately.

Anyway it's not unique, it was a fun experience writing, and I've switched to using it now:

| No comments


This is mostly how I make bread

28 October 2018 12:01

I've talked about making bread in the past on this blog, here's my typical recipe - this recipe requires only two bowls, a spatula, a dutch-oven, oven-gloves, and some scales.

Ingredients:

  • 1kg flour
  • 950g water.
    • If you want to keep it simple you could use 1kg of water instead. It simplifies the measuring if you're using a balance-scale
  • 1.5 teaspoon salt.
  • 1 teaspoon instant/dried yeast.

Here is the flour, water, & yeast - not pictured salt!

Mix all ingredients together. It will be sticky, and your hands will become messy. Embrace it. (ProTip: Take off your watch and wedding-ring(s) if applicable.) Expect it to take 2-5 minutes to do a decent job. Ensure you scoop your hand right into the bottom of the mixture, to make sure there is no flour clumped together at the bottom of the bowl which is not fully mixed in.

The end result is a sticky mess which will look something like this, perhaps your bowl will be cleaner and you'll have done a better job at mixing all the flour!

Cover the bowl with cling-film, and stick in the fridge overnight. (I tend to mix stuff at 6PM in the evening, then come back to it around 9AM the following morning, which means the bowl sits in the fridge for 14 hours or so.)

Take the bowl out of the fridge and you should see it has "grown", and it will have a lot of bubbles on the top, as growth of the yeast emitted CO2.

You'll also see that it is significantly more gloopy, as chains of gluten have formed

Anyway now your bowl is on the counter, out of the fridge, you want turn on your oven and set it to 250°C, with the dutch oven inside it. While you're waiting for the oven to heat up transfer the sticky mess to a new bowl, lined with baking-paper. This will make it easier to add to the pot when we're ready to actually cook it.

As per the previous video the mixture will be very sticky, but you should be able to manage it. Don't worry too much about the shape, it'll become a "loaf-shape" when it cooks, the only reason we're moving it is because it is much easier to lift the mixture into the pot by holding the paper, than trying to scrape it from your cold bowl to your very hot dutch-oven. Anyway once you've moved it to a new bowl you'll have something like this:

When your oven has reached the right temperature carefully transfer the mixture, in its paper, to the dutch oven which you'll then return to the oven.

  • Cook for 40 minutes at 250°C
  • Cook for an additional 20 minutes at 200°C
    • Just turn down the temperature-dial.
  • Finally open the oven, remove the lid from the pot, and cook for a further 15 minutes (still at 200°C)

The end result will be something similar to this:

Enjoy!

Notes:

  • You can see vestiages of the paper-wrapper in the final result.
  • I like my bread dark.
  • Let it cool down before you eat it, something like 45-60 minutes once you've removed from the oven.

| 7 comments